(315) 524-0022            

pg-banner-main
pg-banner-mobile

Challenge Our 4.5 Star Rated Championship Course

A Spectacular Round of Golf Awaits...

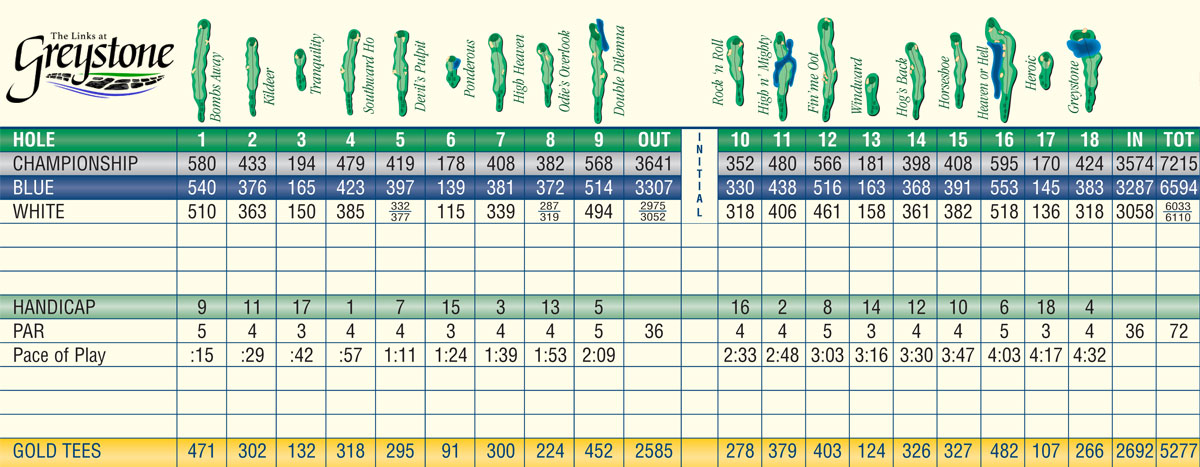
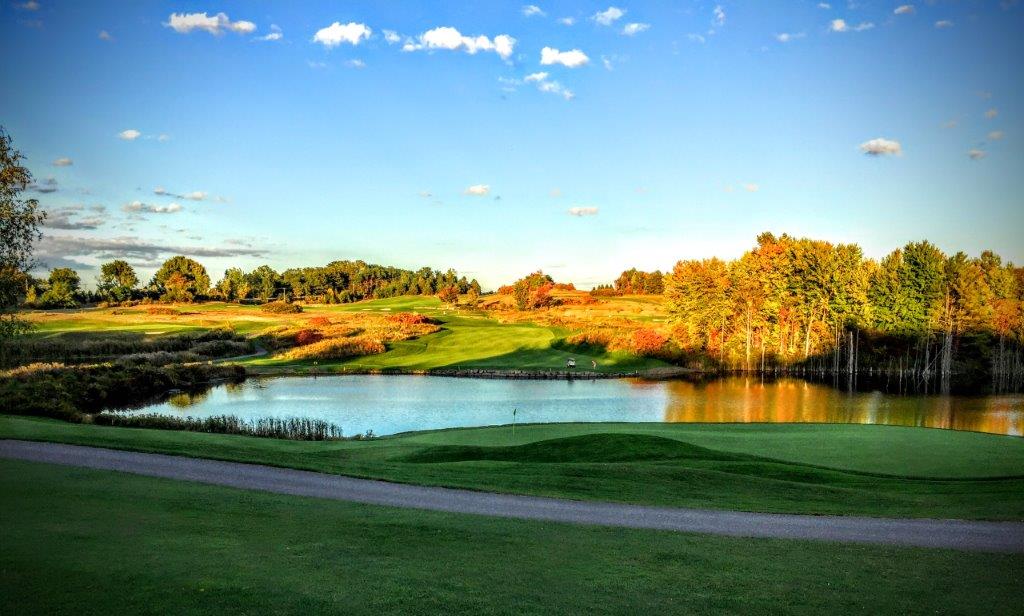
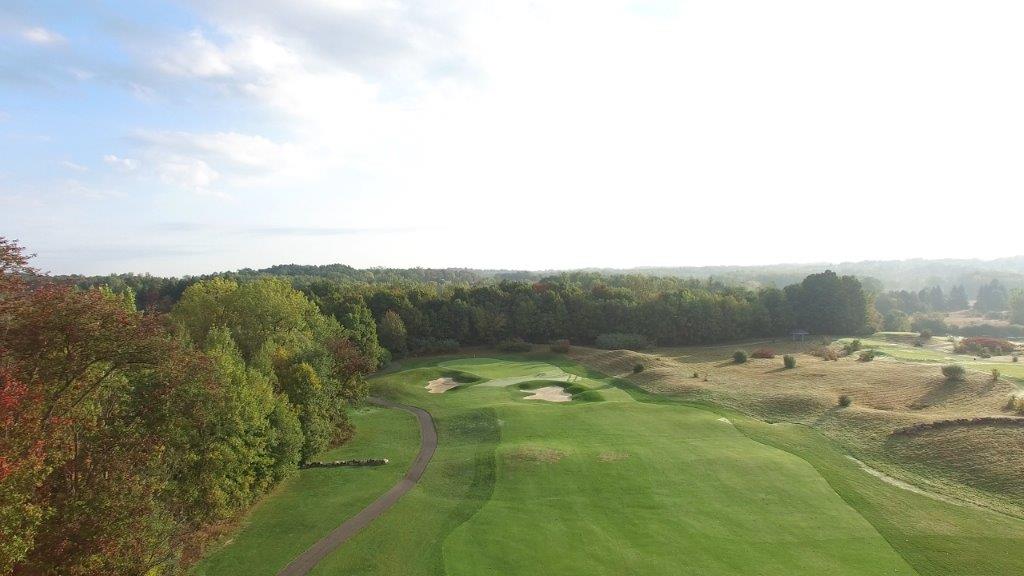
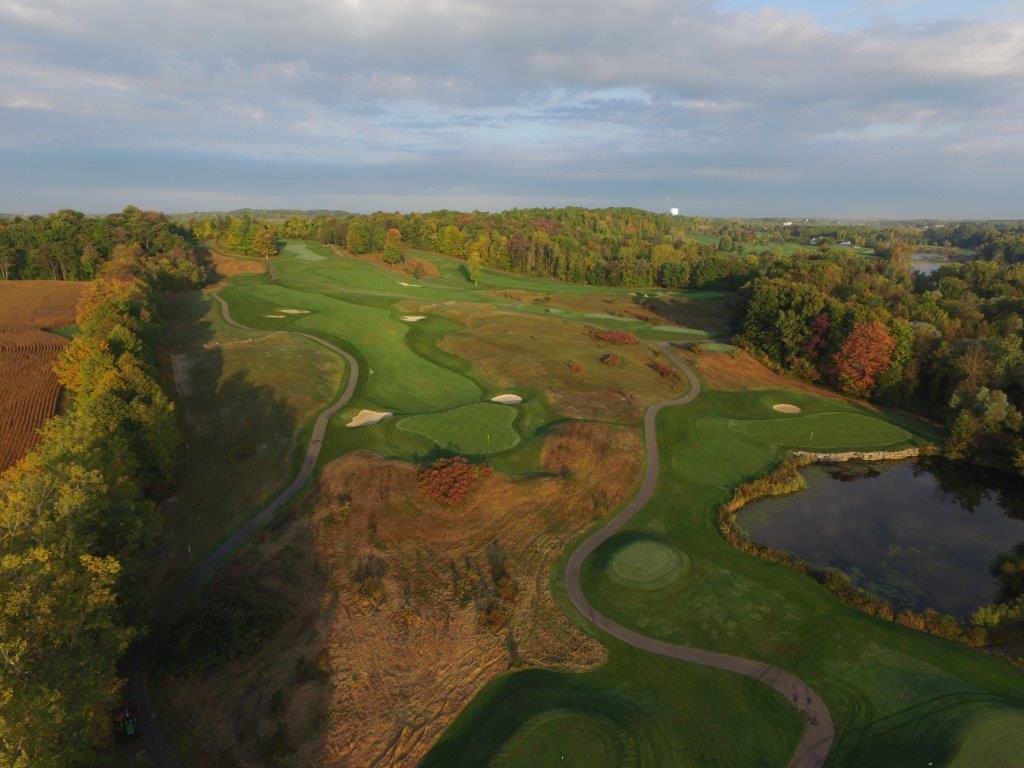
At a maximum length of 7,215 yards with a Course Rating of 74.3 and a Slope of 130, The Links at Greystone has a championship-caliber layout worthy of Golf Digest's coveted 4.5 Star Rating. Only a handful of other golf courses across the country have ever been rated better.

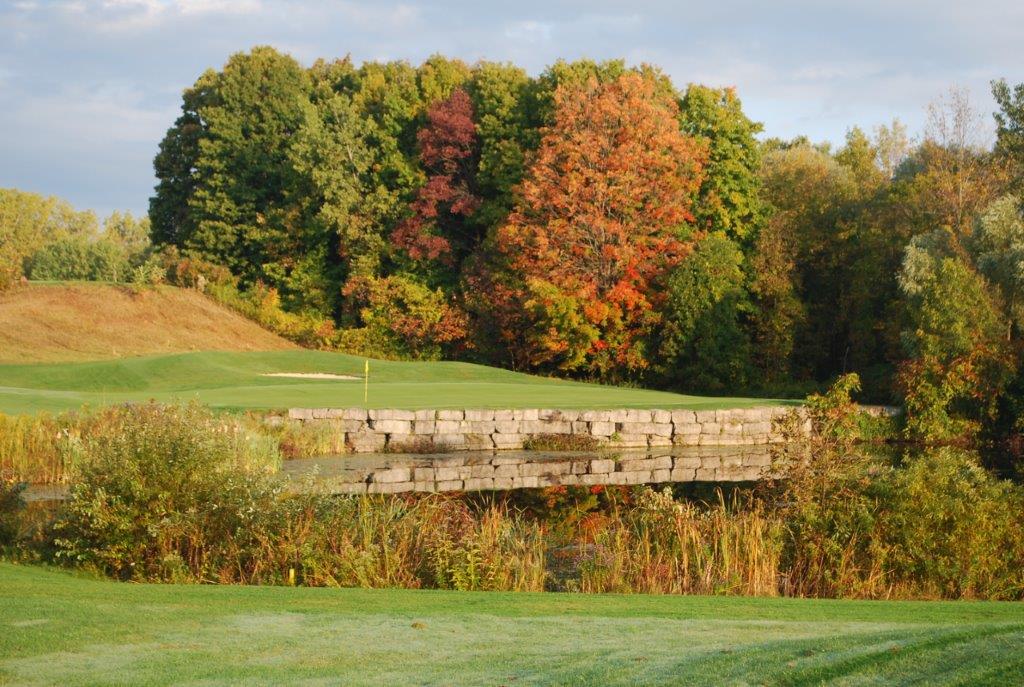
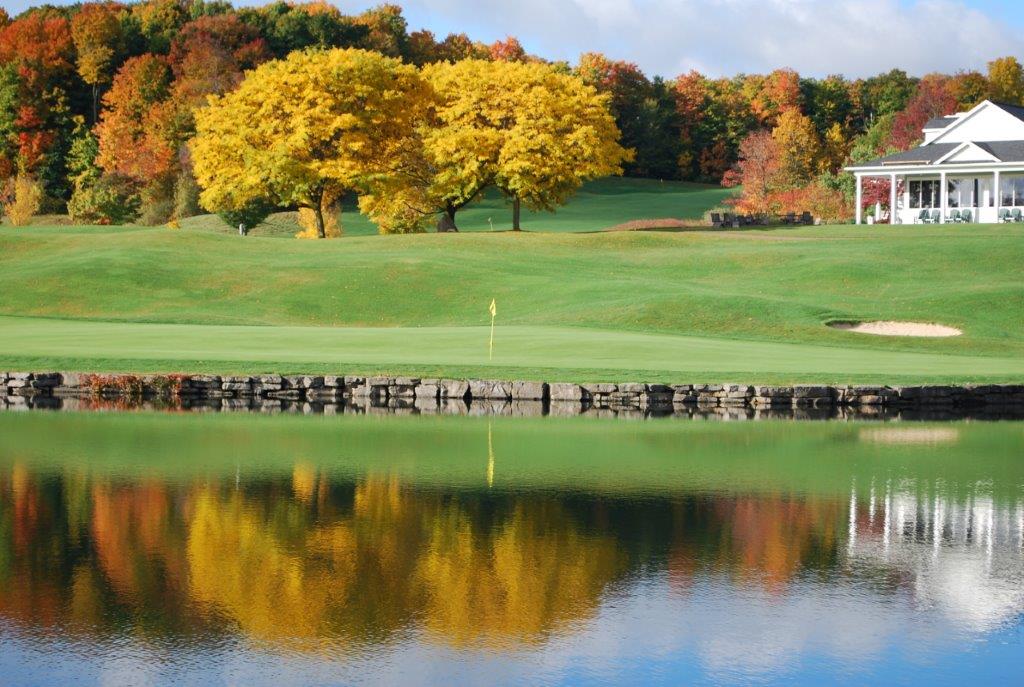
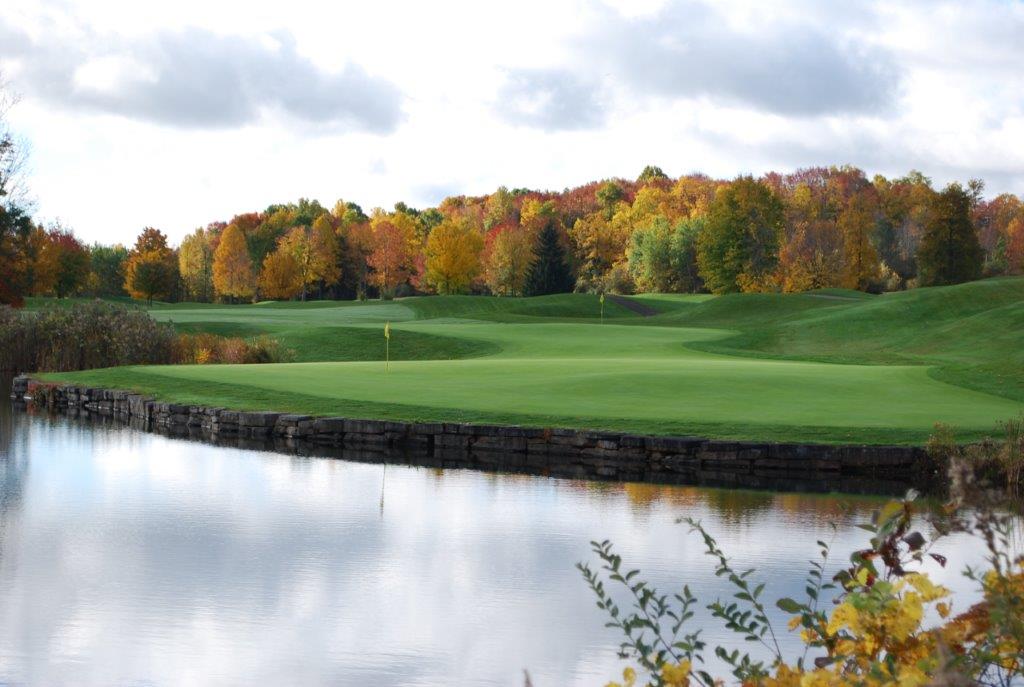
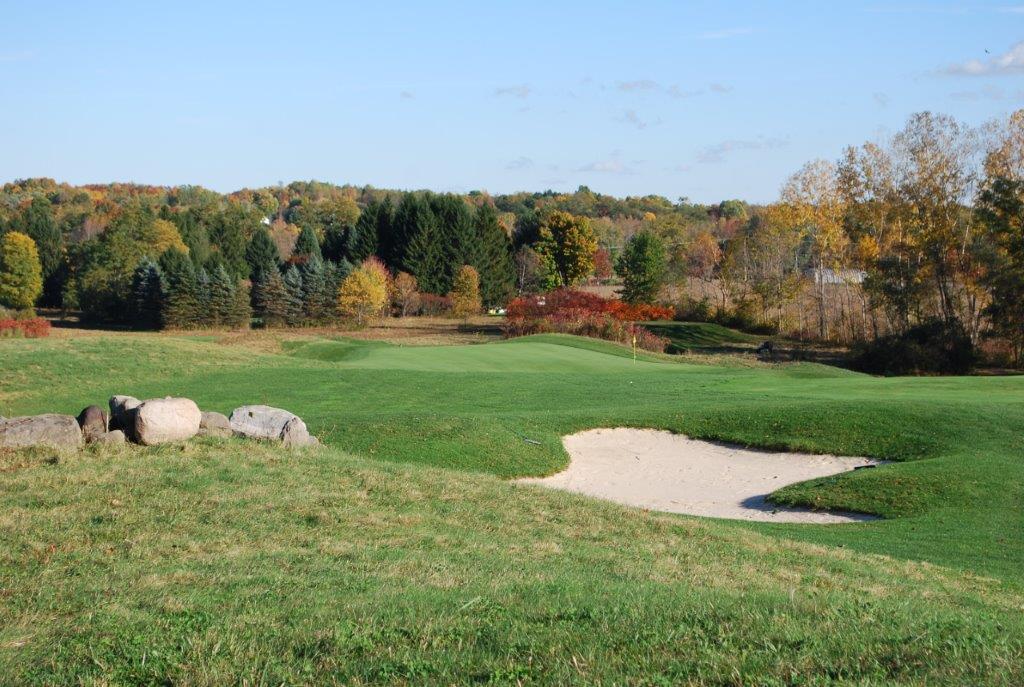
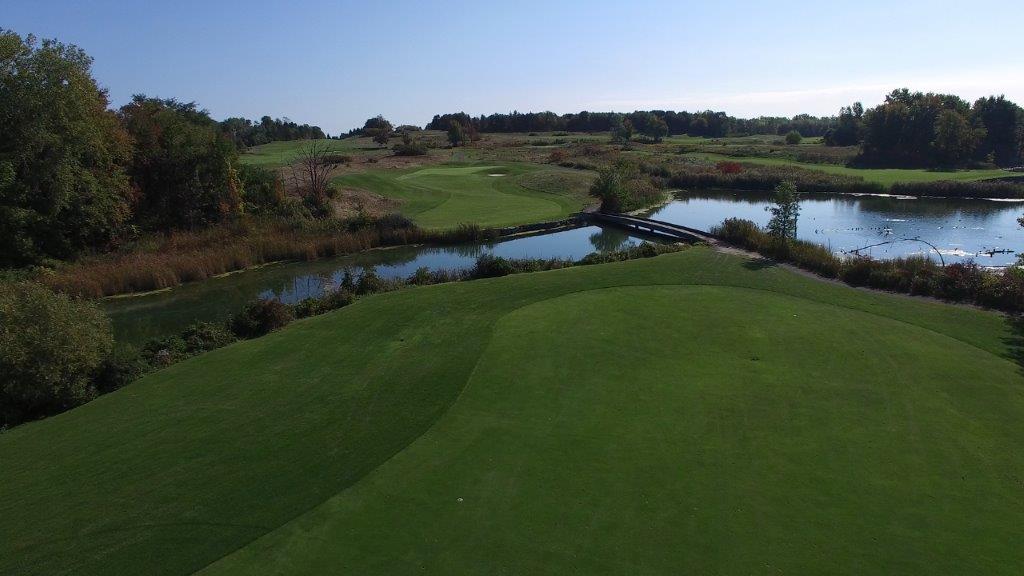
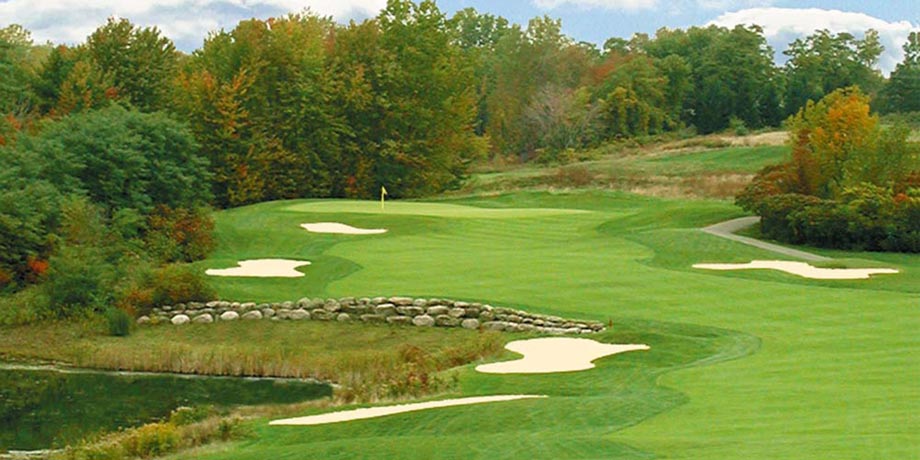
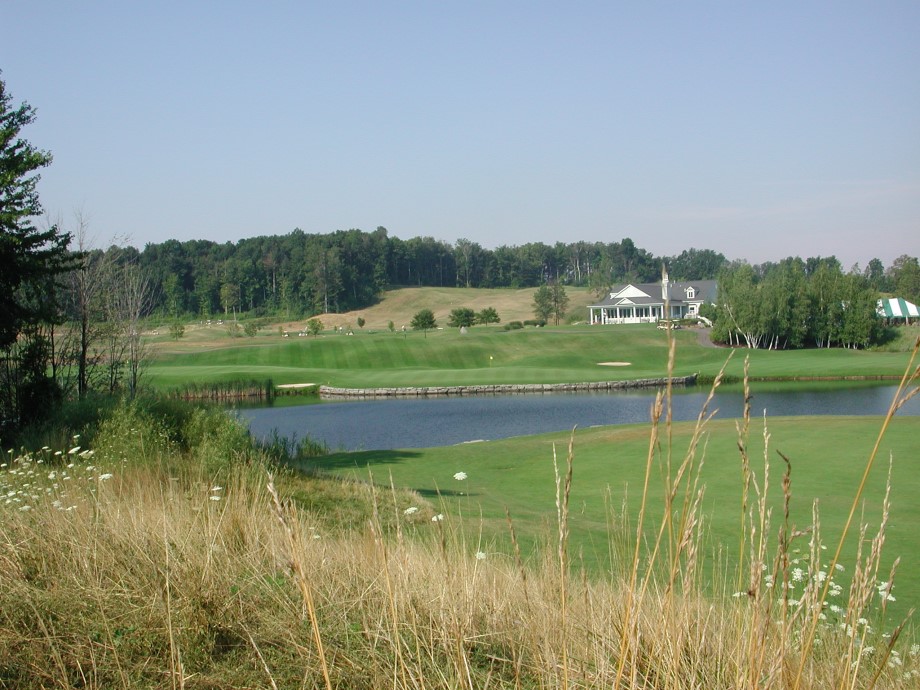
It's easy to see where The Links at Greystone got its name. The grey stones framing the water's edge at the golf course's most dramatic holes, the Par 3 Hole #6 and the Par 4 Hole #18, stare back at players in defiance, demanding they hit a quality shot or enjoy the swim.

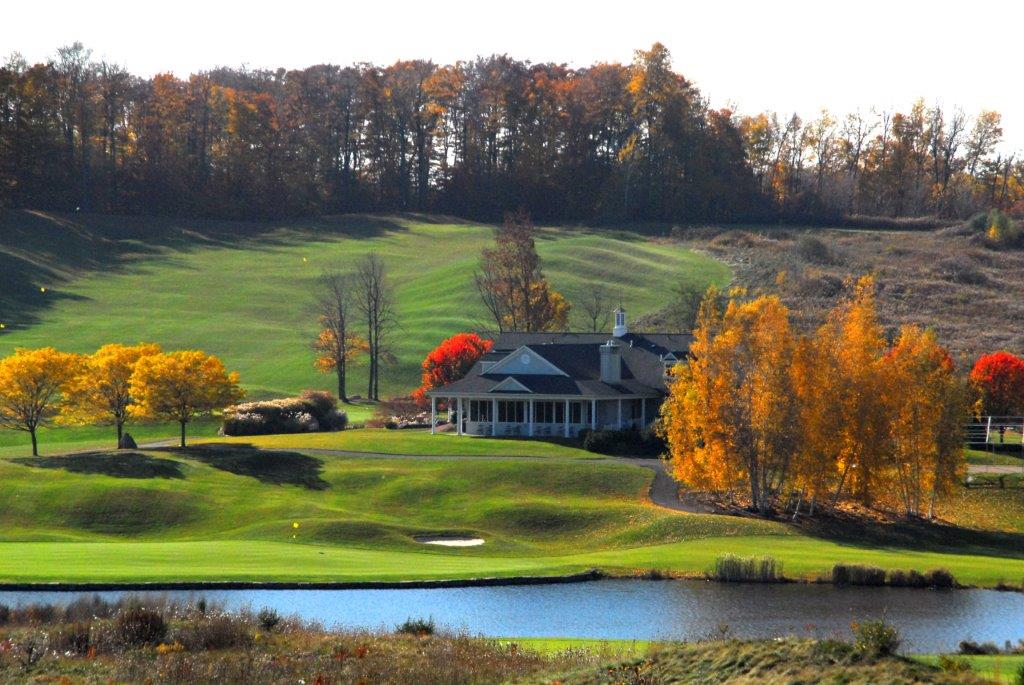
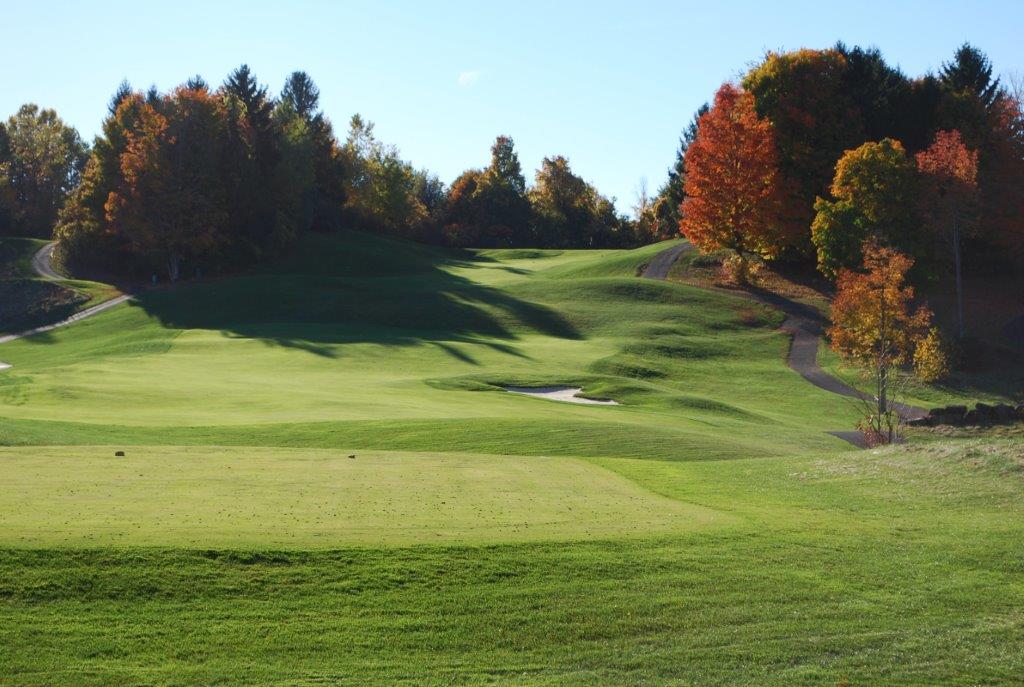
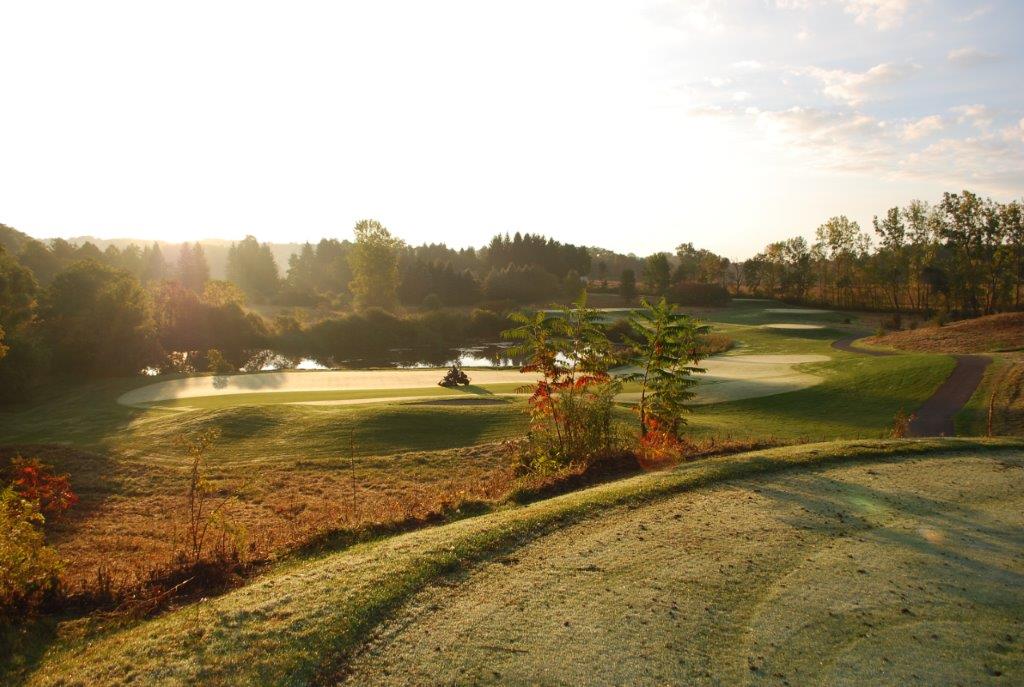
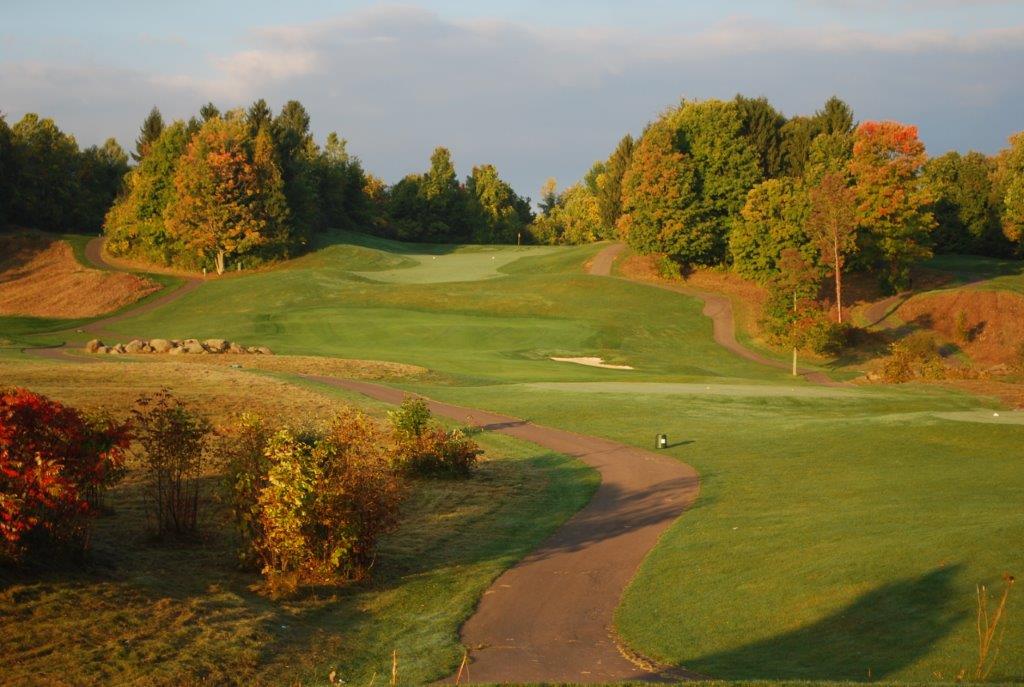
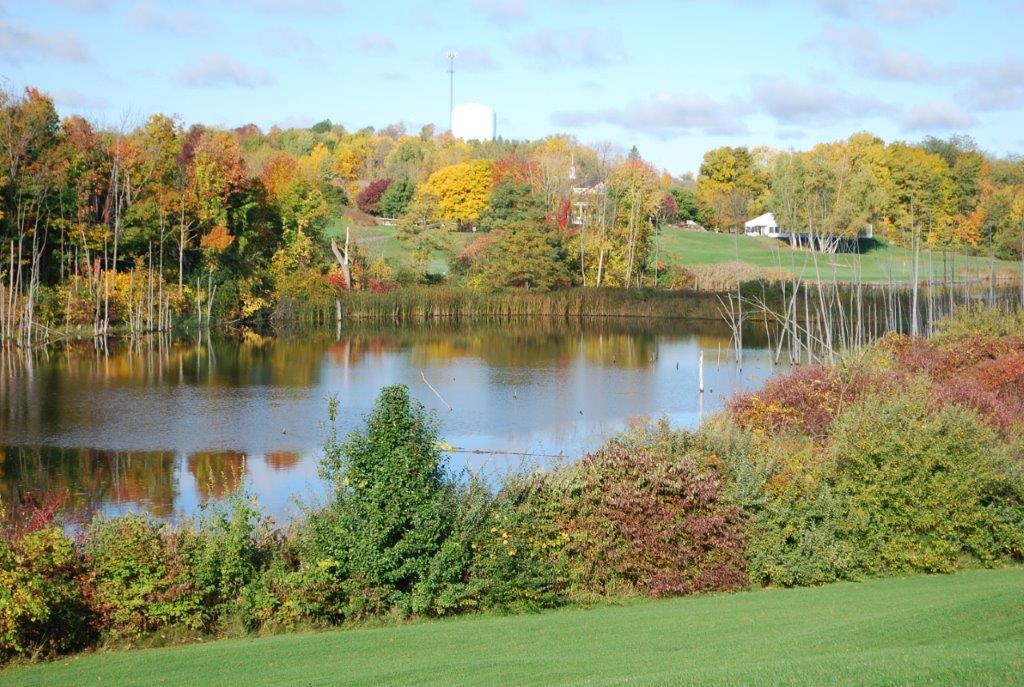
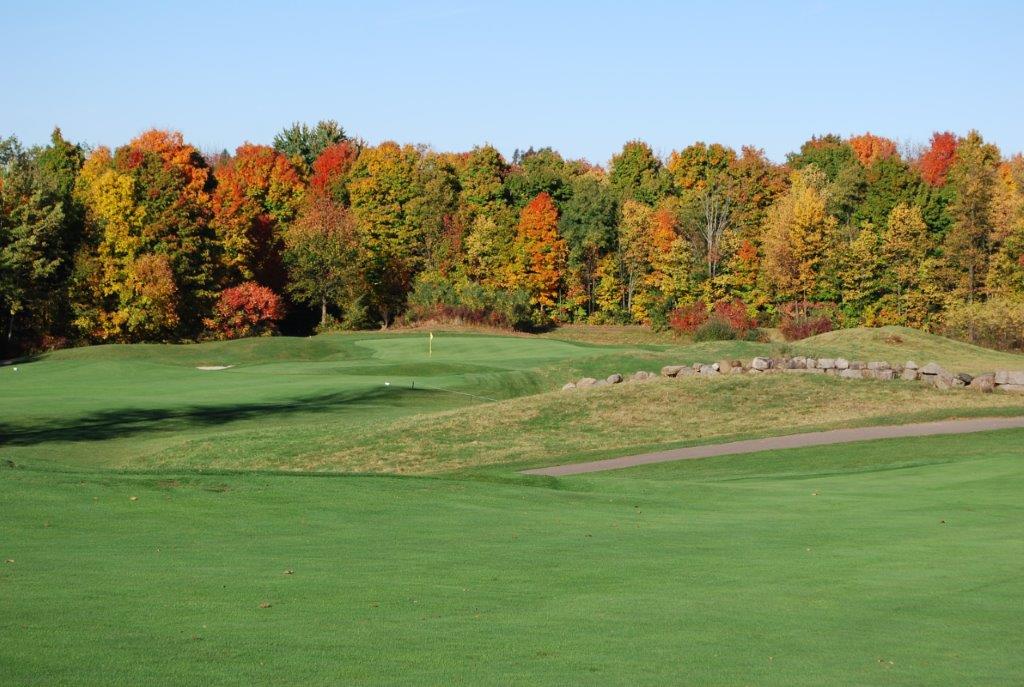
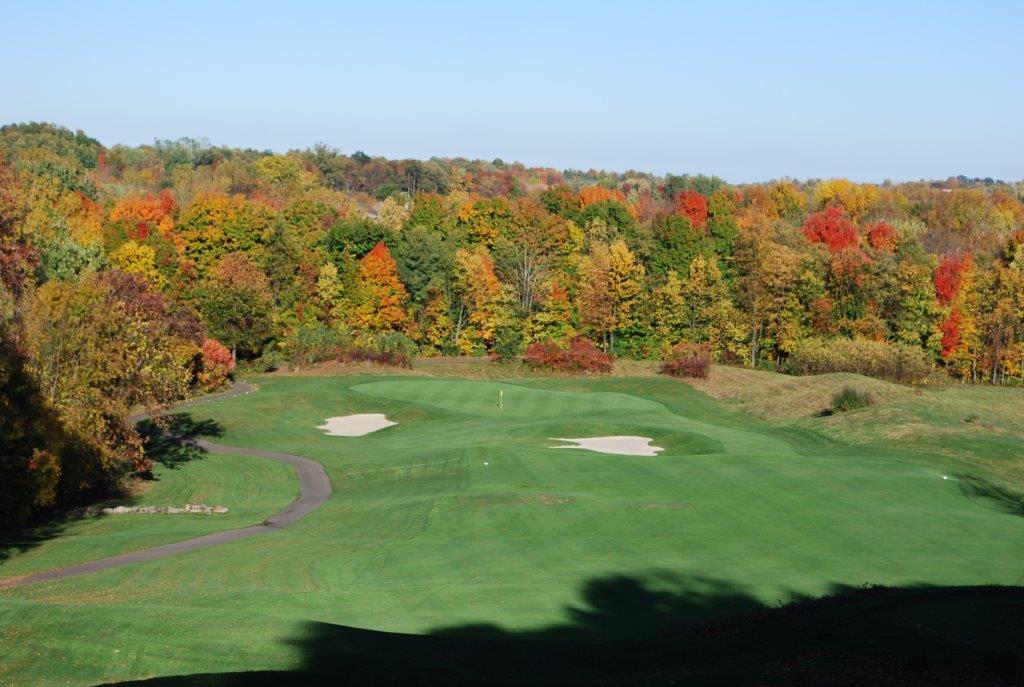
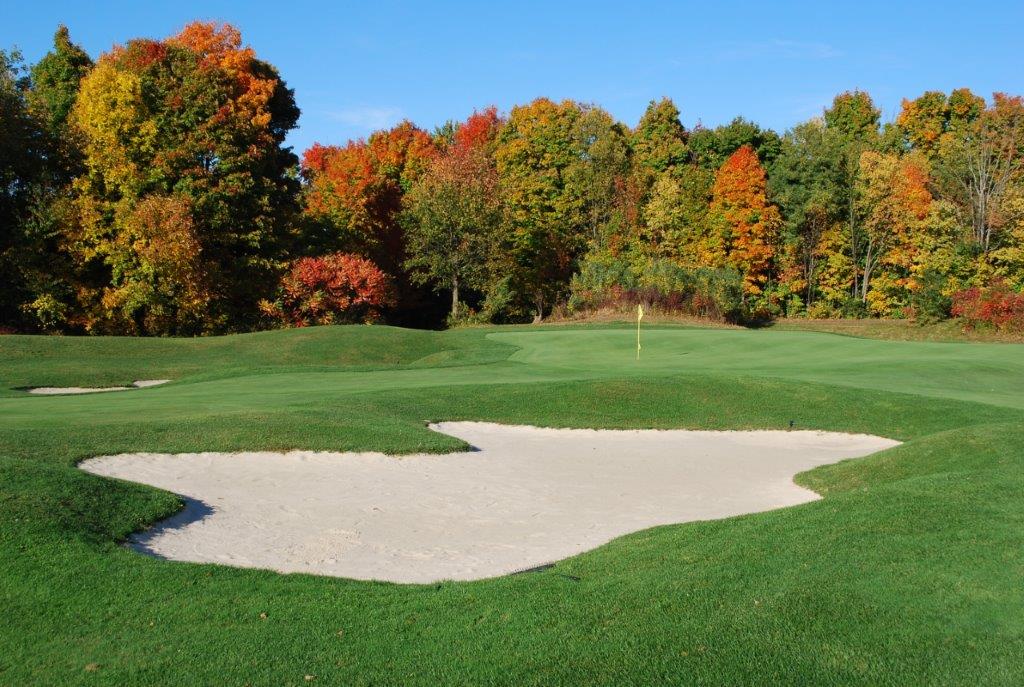
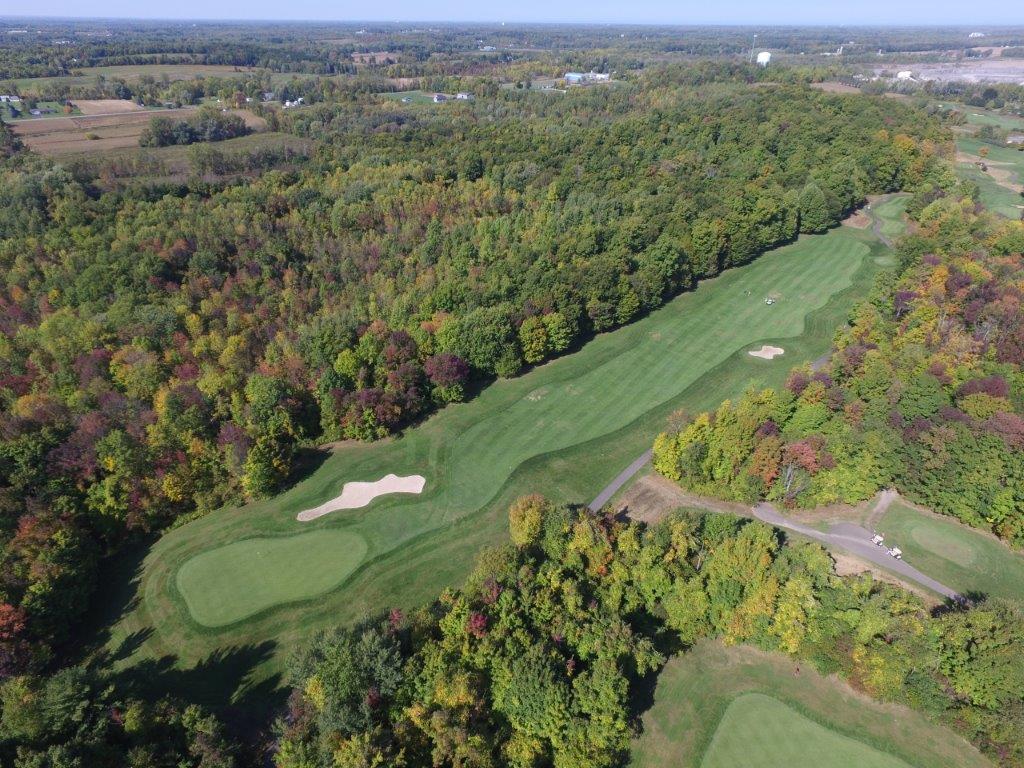
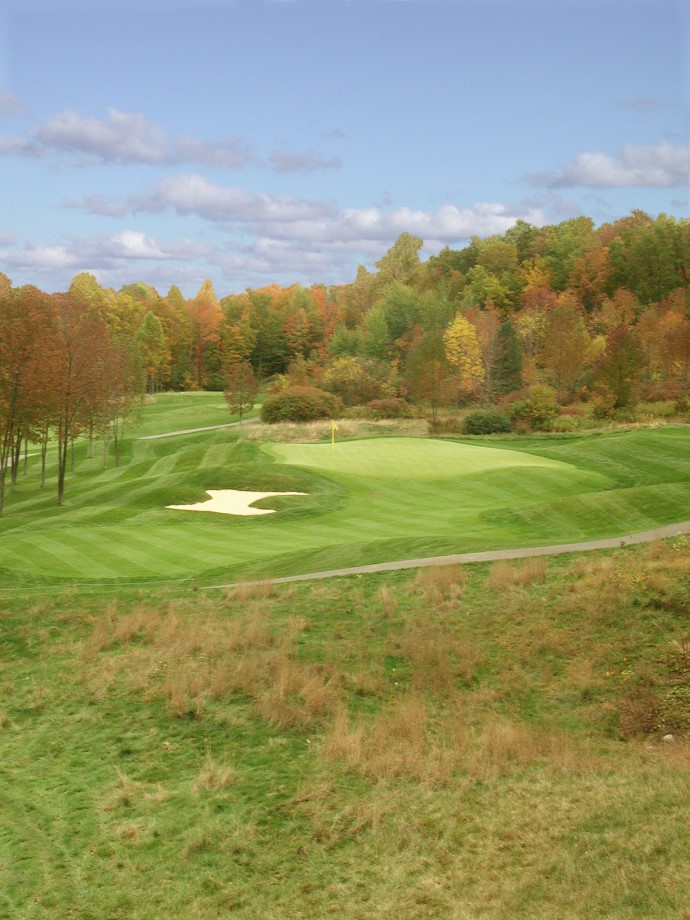
The rolling, forested land is ideal for golf, soaked with ponds and wetlands. Without any homes in sight, peace & solitude are your only playing partners. Architect Craig Schreiner shaped massive greens with multiple tiers and wild swinging breaks. Missing the green in the right spot is almost always better than hitting the green in the wrong one.

Course Tour

  • Hole #1 - Bombs Away

    A generous landing area off the tee allows you to drive with confidence. On your second shot, beware of the fairway bunker on the right. This large green accepts high approach shots well.


    play-video-button

  • Hole #2 - Kildeer

    This enormous green has two tiers with the center of the green at the top of the slope.  Land on the same tier as the flag.  When the pin is in back, hit an extra club.


    play-video-button

  • Hole #3 - Tranquility

    Putts read true on this large green.  Out-of-bounds on the right and heather grass keeps you honest.  This hole presents a birdie opportunity.


    play-video-button

  • Hole #4 - Southward Ho

    This long par 4 tests your mettle.  The entire right sides plays as a lateral hazard.  Approach shots pushed right leave a difficult up-and-down, so it is better to miss left.


    play-video-button

  • Hole #5 - Devil’s Pulpit

    Aim down the middle on your tee shot.  Perhaps hit a long iron or three wood.  Hit to the center of this difficult green for the greatest reward.


    play-video-button

  • Hole #6 - Ponderous

    This hole’s strength lies not with its length, but with the intricate breaks found on the putting surface.  Take enough club to guard against the wind.


    play-video-button

  • Hole #7 - High Heaven

    You must hit the ball straight on this majestic, uphill par 4.  Play at least one to two clubs more on your approach.  A deep bunker guards the left front of the green.  Aim at the center and you won’t be disappointed.


    play-video-button

  • Hole #8 - Odie’s Overlook

    Long hitters will have to contend with a large fairway bunker.  A shorter tee shot takes advantage of a generous landing area, leaving a short pitch for a birdie opportunity.


    play-video-button

  • Hole #9 - Double Dilemma

    A lateral water hazard runs the length of the right side of this wide fairway.  A well-placed second shot takes the left fairway bunker out of play and leaves a short approach to the shared ninth and eighteenth greens.


    play-video-button

  • Hole #10 - Rock’n’Roll

    On this classic par 4 with a few hidden secrets, the left side is much friendlier than the right.  Take the greenside bunker out of play.  Your second shot plays more uphill than it appears.


    play-video-button

  • Hole #11 - High ‘n’ Mighty

    Length and accuracy are paramount off the tee to negotiate the water hazard that cuts diagonally across the hole.  Hit enough club on your second shot to an uphill green braced with a containment slope left and a pot bunker right.


    play-video-button

  • Hole #12 - Fin’me Oot

    A good drive on this par 5 opens up birdie possibilities.  Take aim at the trees behind the green for your second shot over the hill, leaving a short pitch to the green.


    play-video-button

  • Hole #13 - Windward

    This uphill par 3 plays into a prevailing wind.  The severe, two-tiered green demands that you take enough club to find the correct level.


    play-video-button

  • Hole #14 - Hog’s Back

    This hole offers mini-challenges from tee to green.  Fairway bunkers on the left may lead you to hit too far right, bringing the heather into play.


    play-video-button

  • Hole #15 - Horseshoe

    Keep your tee shot down the right side, leaving a short iron to this shallow green protected in front by a pot dunker.


    play-video-button

  • Hole #16 - Heaven or Hell

    Play two shots down the right side as the fairway falls severely to the left.  This sets up a short iron home.  Favor the right side of the green on your approach.


    play-video-button

  • Hole #17 - Heroic

    You may want to go with one less club as the prevailing wind is usually at your back.  This large green hosts a crest that runs across the center, creating distinct pin placements- front being easiest, back left most difficult.


    play-video-button

  • Hole #18 - Greystone

    Driver may be too much, so check the yardage marker on the tee for the distance to the hazard.  The approach shot plays into a prevailing wind, so take enough club to stay dry.


    play-video-button

Scorecard

scorecard

Golf Course Photo Gallery